How to clean a Commodore 1541 floppy drive head

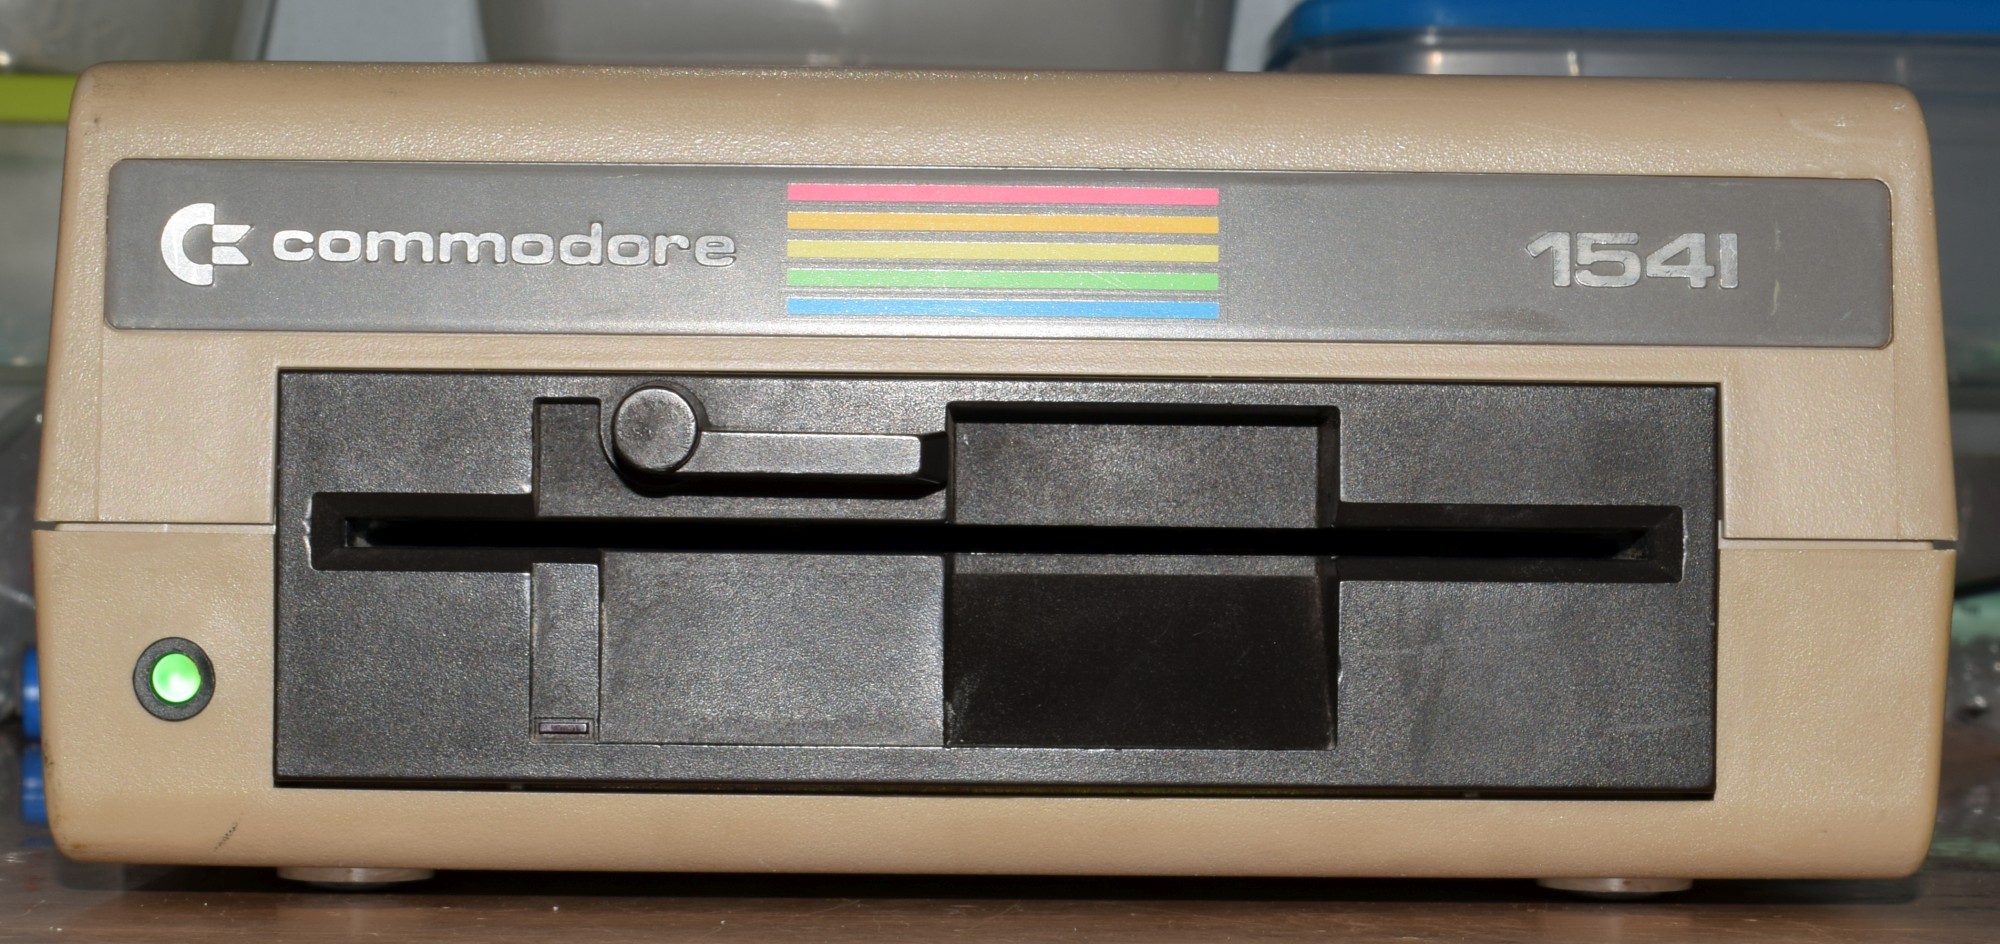
I bought this 1541 drive not too long ago for 14 USD. The seller said it did not work. And he was right. The floppy drive was not able to read/write. Even a directory listing is thrown a error: ?FILE NOT FOUND ERROR. The disk rotating motor was spinning and the head was able to move. Then it is probably a head error. Let’s find out!

The good old Commodore 1541 floppy drive

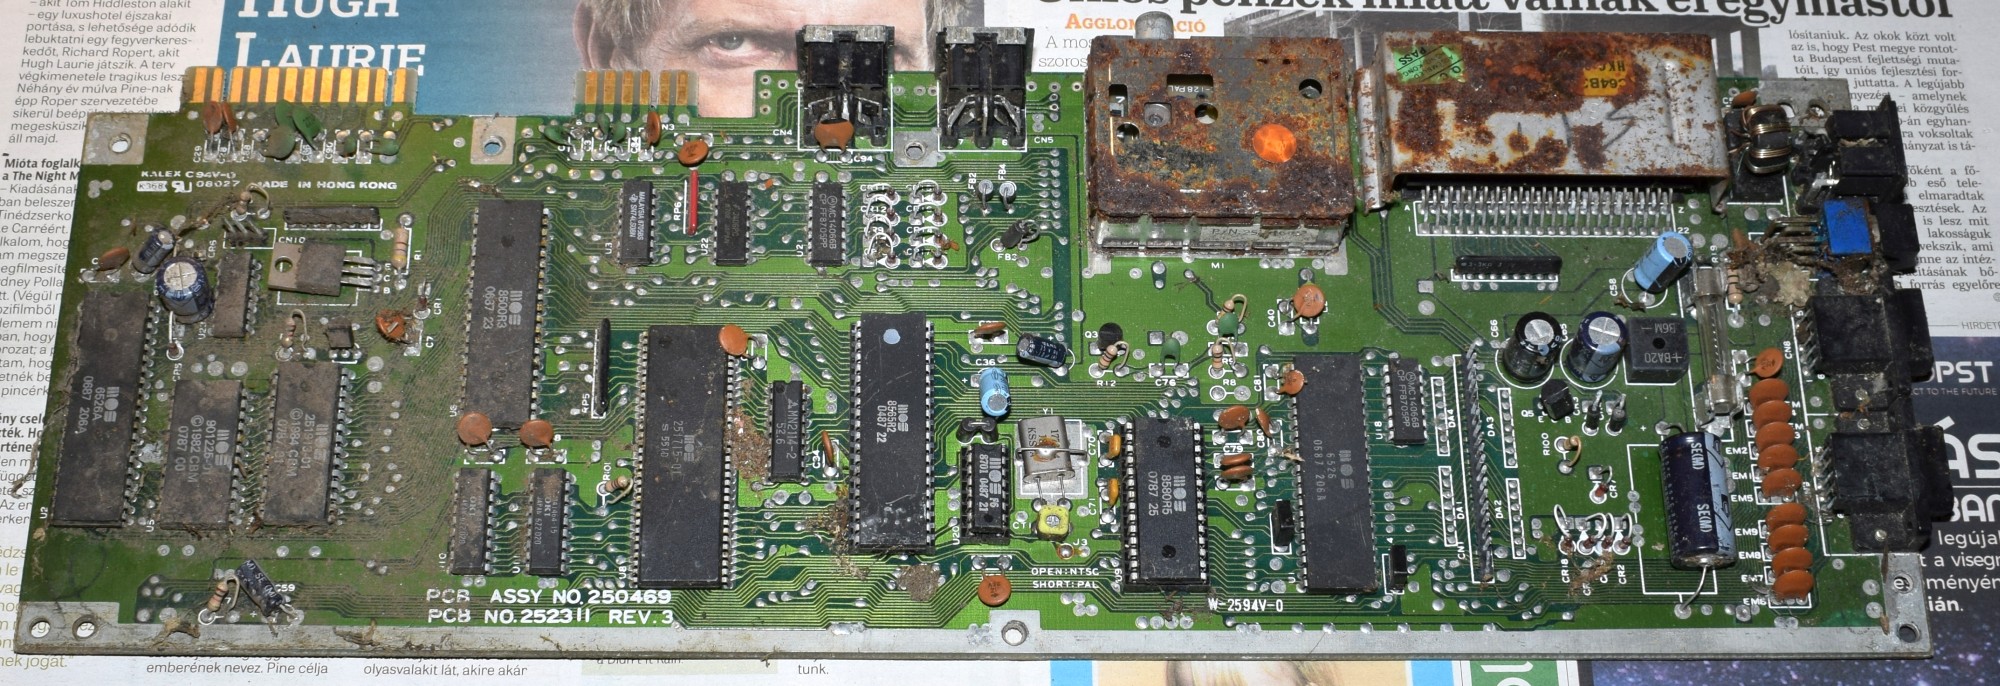
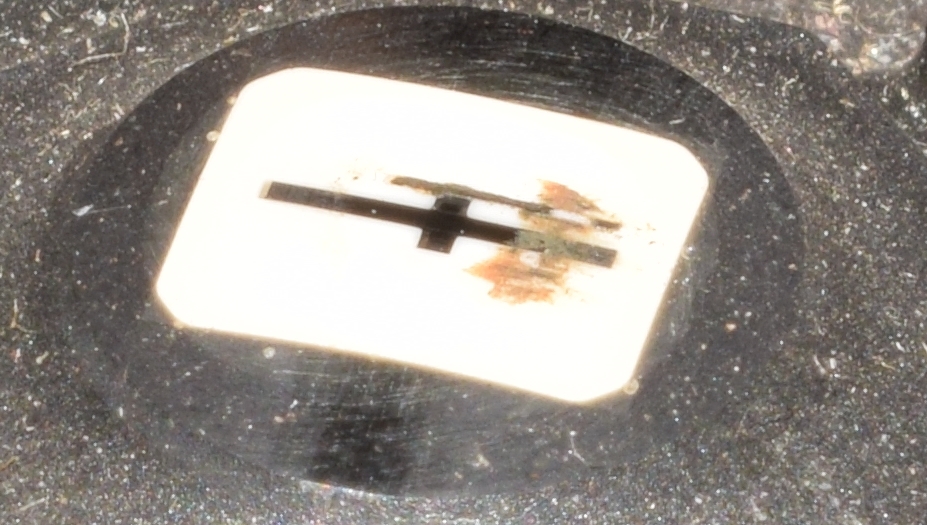
I disassembled the drive and washed the plastic covers and cleaned the electronic with compressed air. So… what is wrong with this drive? The error was obvious at first glance. The floppy drive head was very dirty. If the head is a little dirty the drive can work but you may see sometime read and write error. But If the head is very dirty (like in this case) the floppy drive is not able to read and write at all. So this is a nice chance to show you all how can you clean a Commodore 1541 floppy drive head.

What you need:

  • Pure alcohol (94% concentration)
  • One Cotton swabs (cotton buds, Q-tips, etc.)

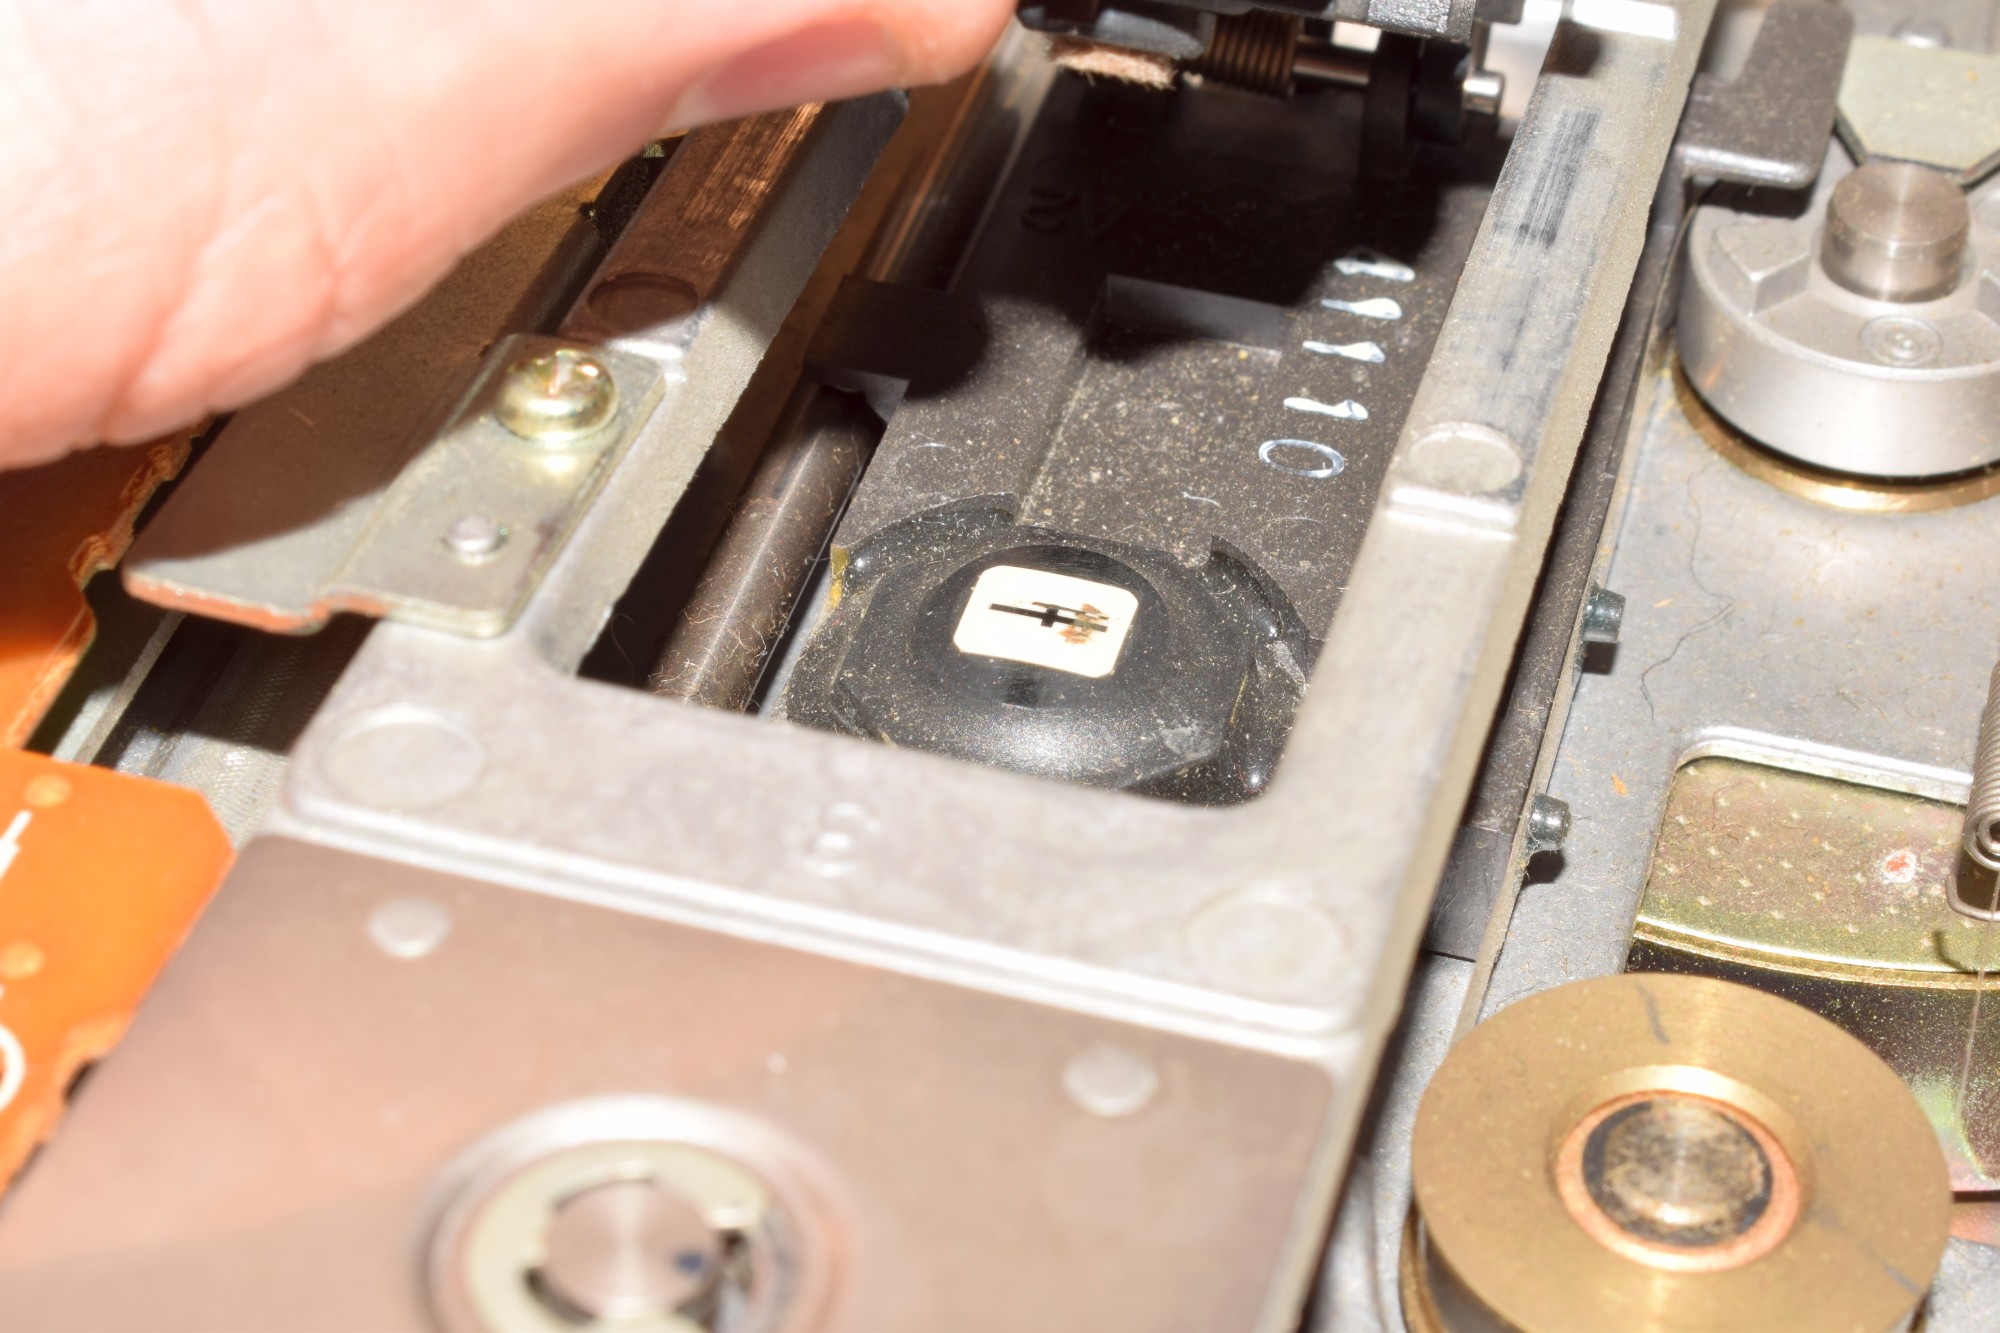
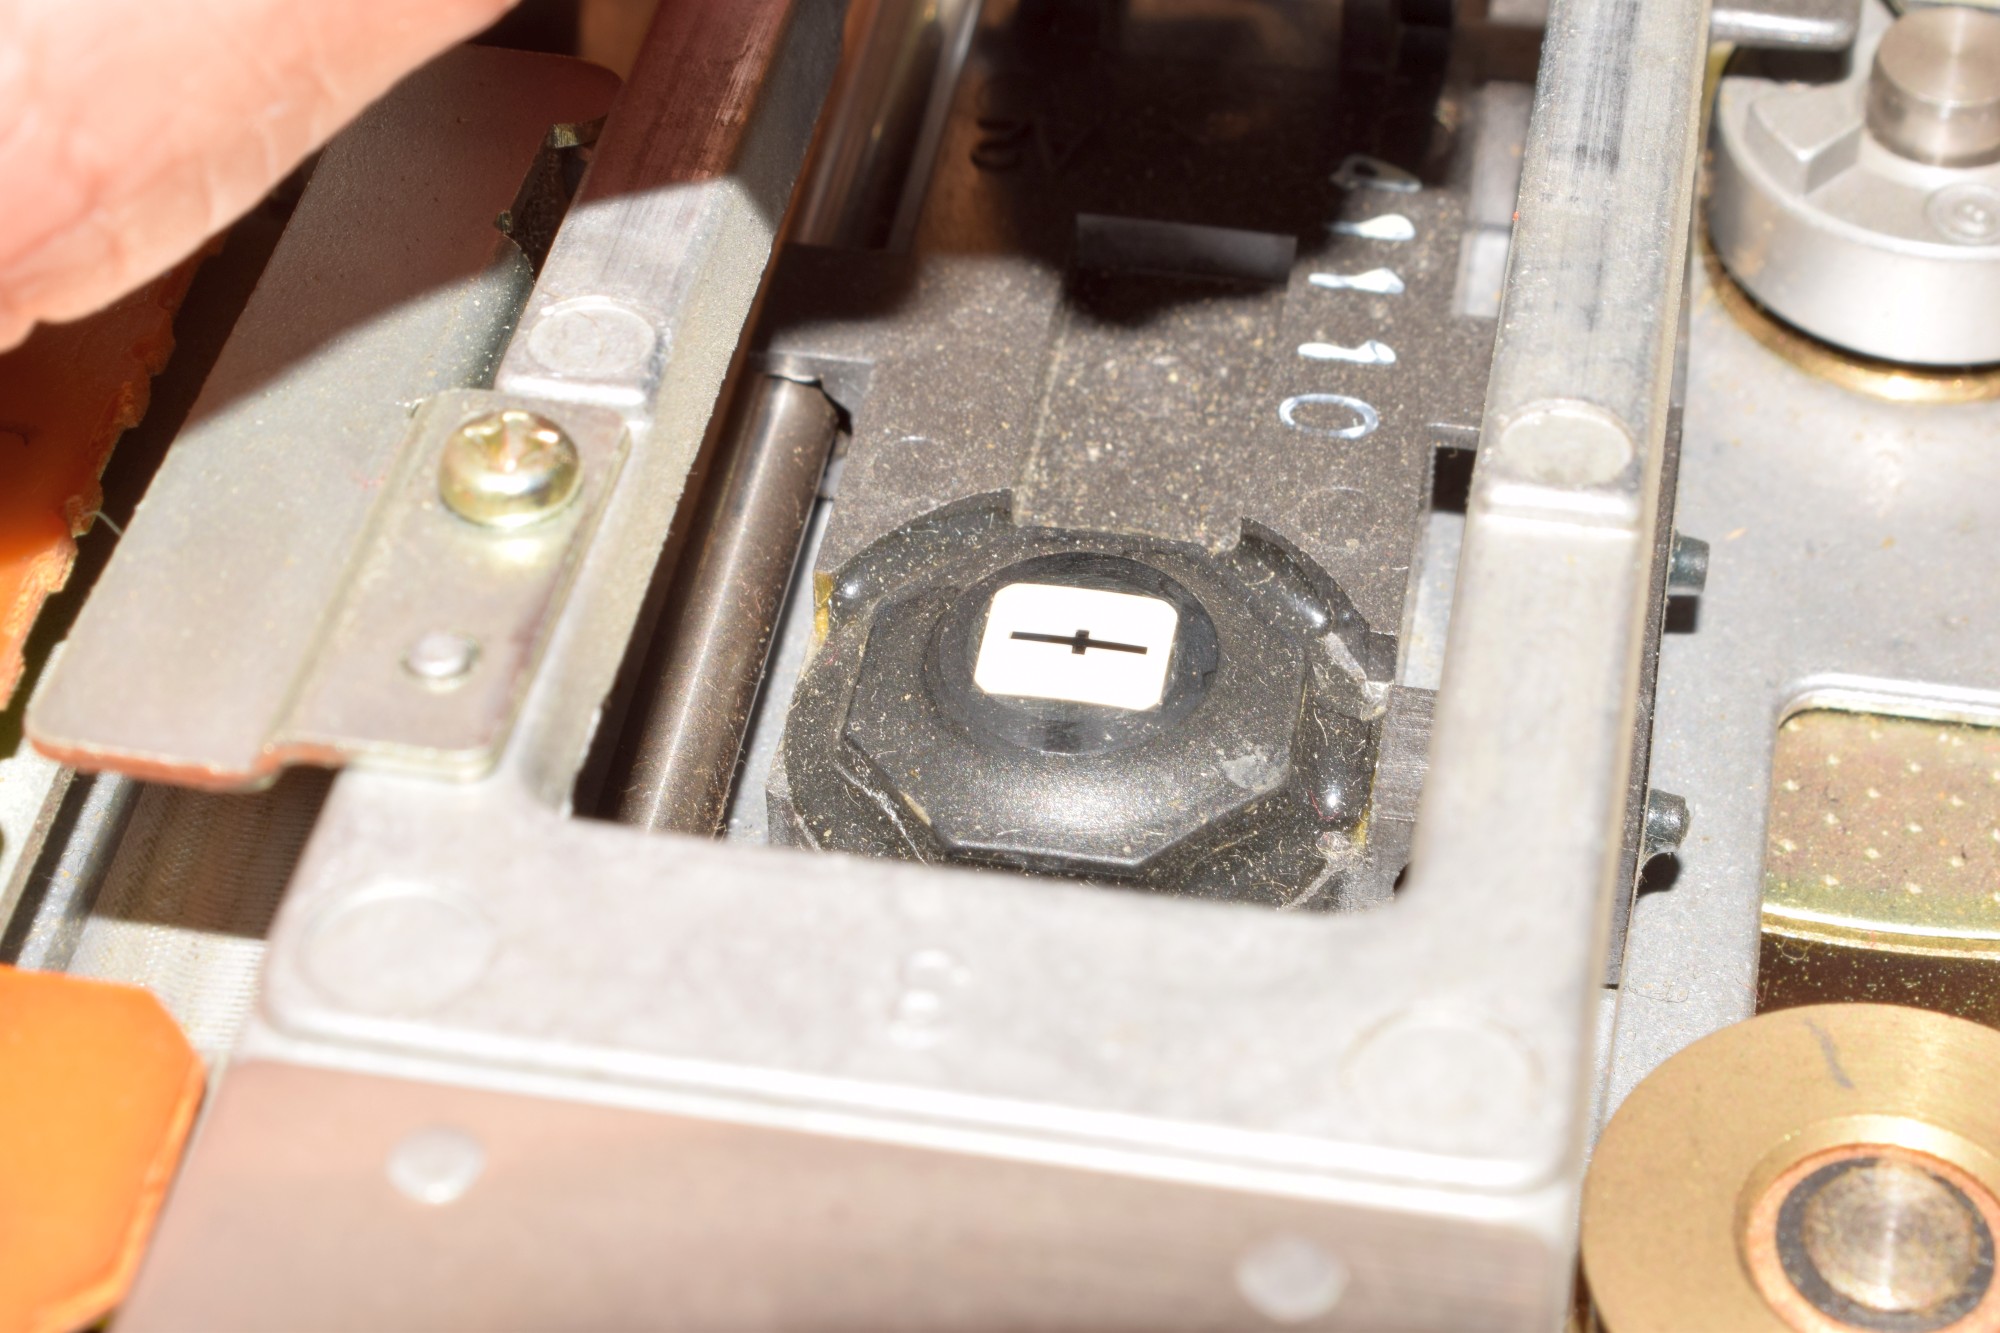
Little explanation before we get started. The 1541 floppy drive head is read and write to the floppy disk bottom half. This drive originally use one side disks. If you examine a disassembled 1541 floppy drive you may notice the drive has a “upper head” too. So… what is this upper head thing is? Well… this is not really a head. The “upper head” not contain any electronics just a little sponge piece and a spring. The “upper head” function is to press the spinning disc to the bottom real head. You can lift up the upper head with your hand easily, the spring is not very strong.

Then let’s start the cleaning.

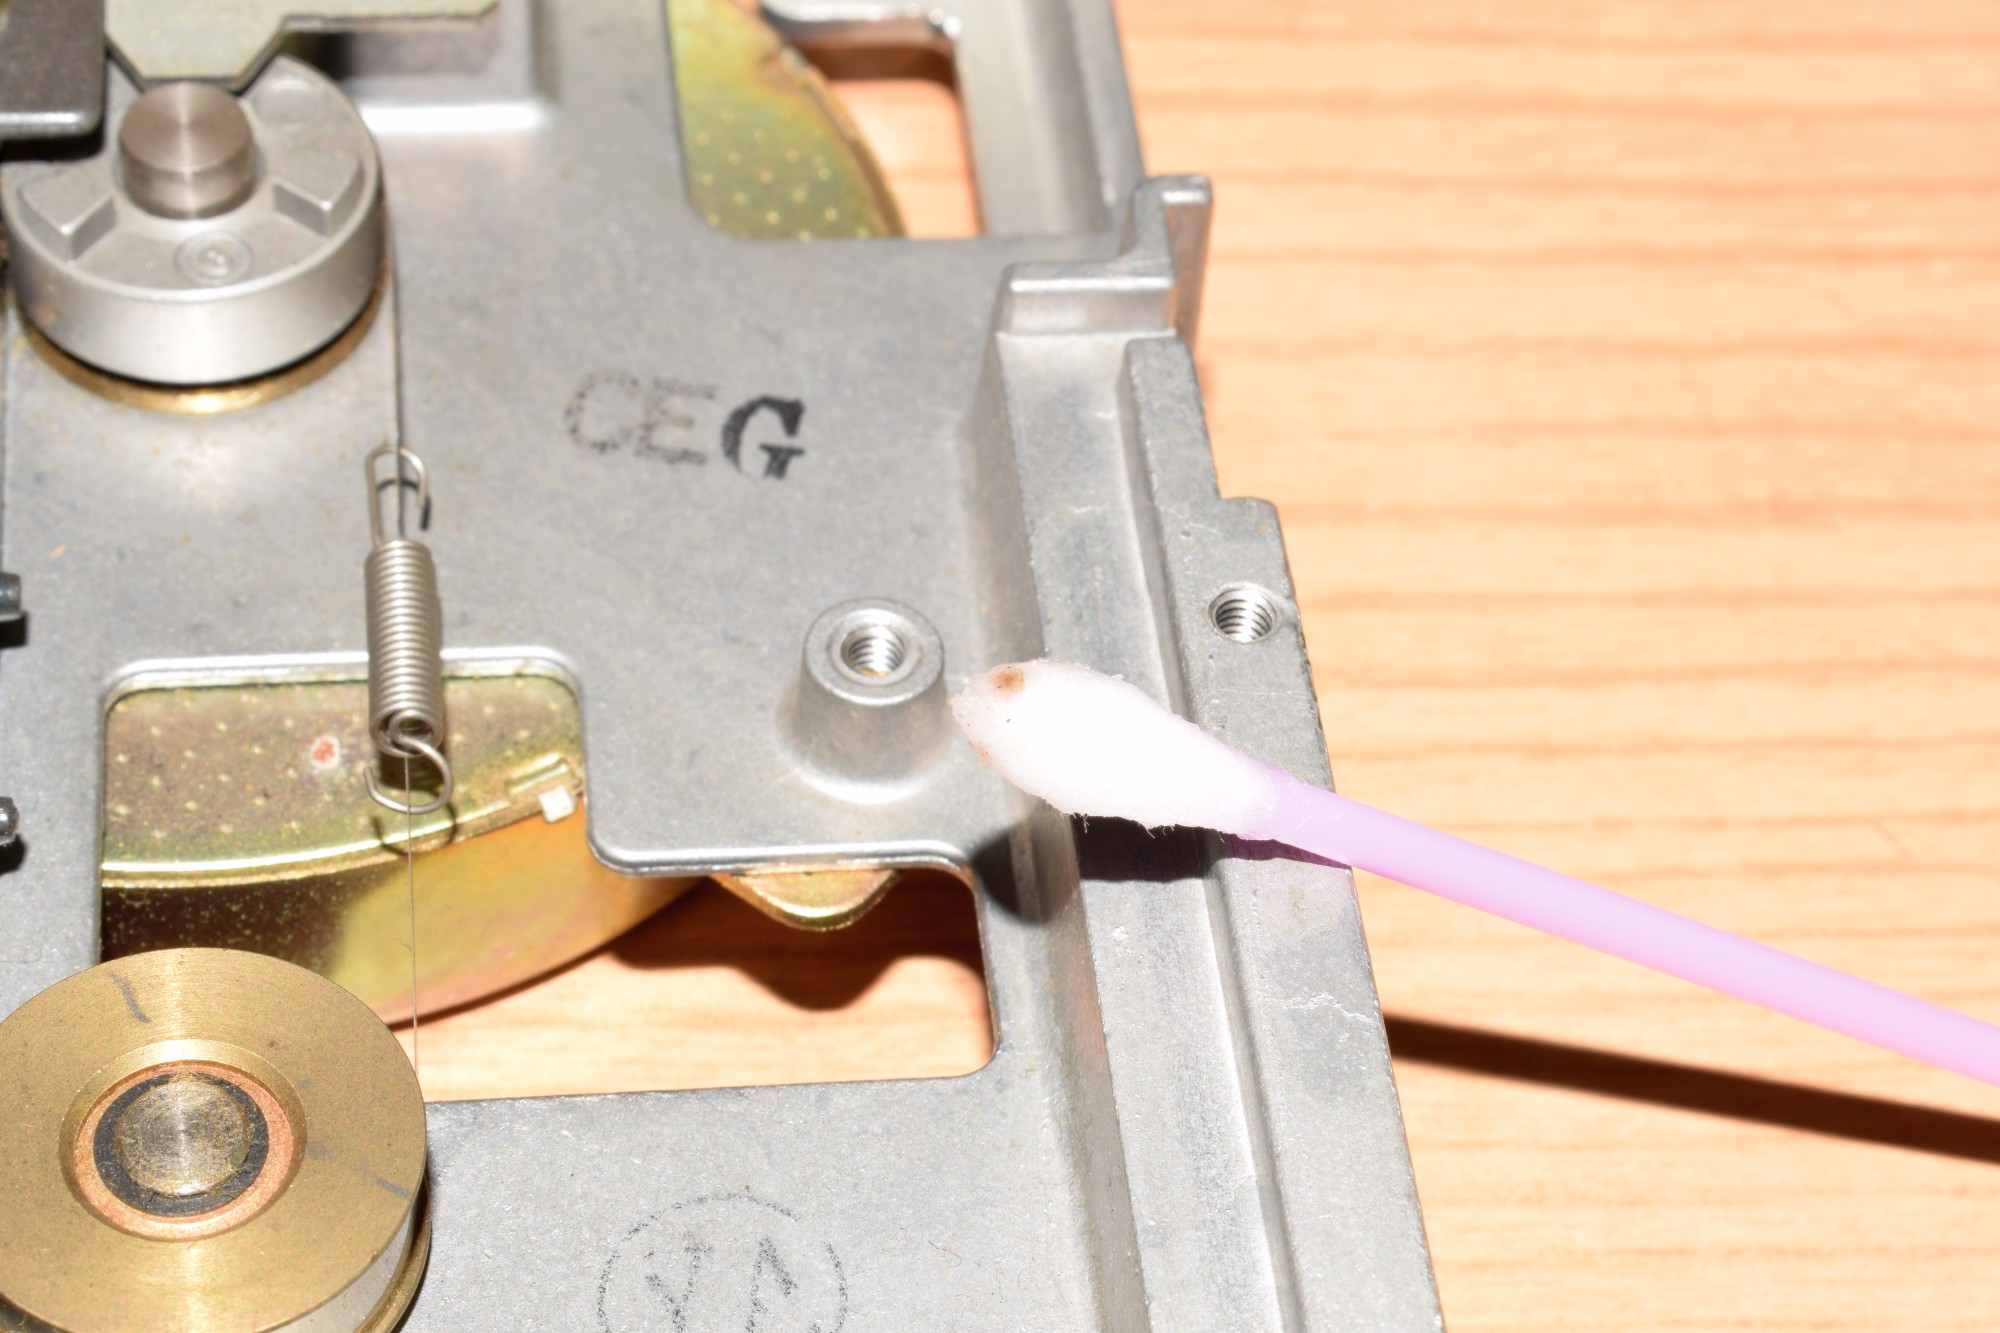
First lift up the upper head gently unily you have enough gap to clean the head. That is about 30 degree relative to the horizontal position. Be very carefully! If you lift the upper head too much the spring will be weaken or broken and floppy drive will not work properly anymore.

Lift up the head gently…
A dirty floppy drive head

Then use the cotton swabs and alcohol and clean the head.

Cotton swabs in action!
After the head cleaning
This is how looks like a clean floppy drive head

And that’s it! It not hard at all. There is nothing left but to assemble the drive and use it.


Commodore 64 motherboard repair

I got this Commodore 64 motherboard (Assy 250469 Rev. 3) quite a long time ago. All metal parts was rusty. And the PCB was quite dirty too. I didn’t dare to turning on in this condition. So… Let’s fix this poor motherboard!

First, I removed the cartridge port metal frame and after that I de-soldered the RF modulator. I removed all IC (in this case 3pcs) from the IC sockets. The motherboard was ready for serious cleaning. If the PCB is very dirty like this one I usually use hot water and liquid soap with a old toothbrush. Do not worry about using water. If all metal part is rusted that mean this PCB got a lot of water already 😀 So I thoroughly scoured the PCB and after that I removed all remaining soap with plenty of water. It is very important that no residue of detergent remains on the PCB! Time to dry PCB. I always use heat gun to drying PCB. Keep on mind on the PCB there is plenty of plastic parts which can be melt if the temperature too high. So be careful about set the air temperature. After the PCB are completely dried I could thoroughly examine the PCB. And It was quite nice condition. I put back all IC to the sockets. So I decided to test it the motherboard without RF modulator. For this I used a game cartridge. Without RF modulator the Commodore 64 can not generate video signal at all.

So how can be tested? The answer is the audio out. The SID works perfectly even when the RF modulator is removed. So I chose a game cartridge which start music right away. I put together everything and…. It’s working! I heard game music on TV (of course without picture). Nice! Let’s fix the RF modulator. First I removed the top and bottom metal cover from the modulator. After that I cleaned the modulator inside with compressed air and I cleaned the modulator metal side with a wire brush. Then I soldered back on the motherboard. I didn’t put back the top and buttom metal cover. Those was too rusty. So I put all cable back and tested again the motherboard. The test was a success. I had Commodore 64 welcome screen on the TV. I used the C64 Dead Test cartridge to test all motherboard function. Everything is worked. I got a good working C64 motherboard.